Before we talk about how to repair a lacquer finish, you need to understand a lacquer finish. Lacquer finishes are popular among higher end furniture manufactures. We have been using nitrocellulose lacquers on furniture since around 1920s when it became superior to shellac. (Yes I know that is a debatable statement to some finishers)
Lacquer is an evaporative type finish which means that it cures by evaporating. This type of finish will also re-amalgamate into self, making is easier to repair. I typically read some articles before each blog post to verify my statements and get some correct terminology. When I did to write this blog I read some conflicting statements based off of my knowledge and expertise. One being that lacquer doesn’t yellow, maybe they have since perfected the formulas but I have known lacquer finishes to yellow. It could also yellow from polishes, or environmental reasons so I guess anything can yellow given the right atmosphere. Two lacquer is not easily repaired. It would depend on the type of lacquer. There are many different types of lacquers but the most common type (nitrocellous) used by manufactures I would say can be repaired. The statement about about lacquers being able to re-amalgate or as I describe it re-melt into itself explains that it can be repaired. Now that we know a little more about lacquers lets get on with it.
Steps to Repair a Lacquer Finish
Some things don’t need to be completely stripped to the raw wood. This didn’t need it it was already in good shape and the color was good with my client. There where some minor areas where color was missing, uneven finish, and minor scratches. Touching up and overcoating these drawers will be perfect.
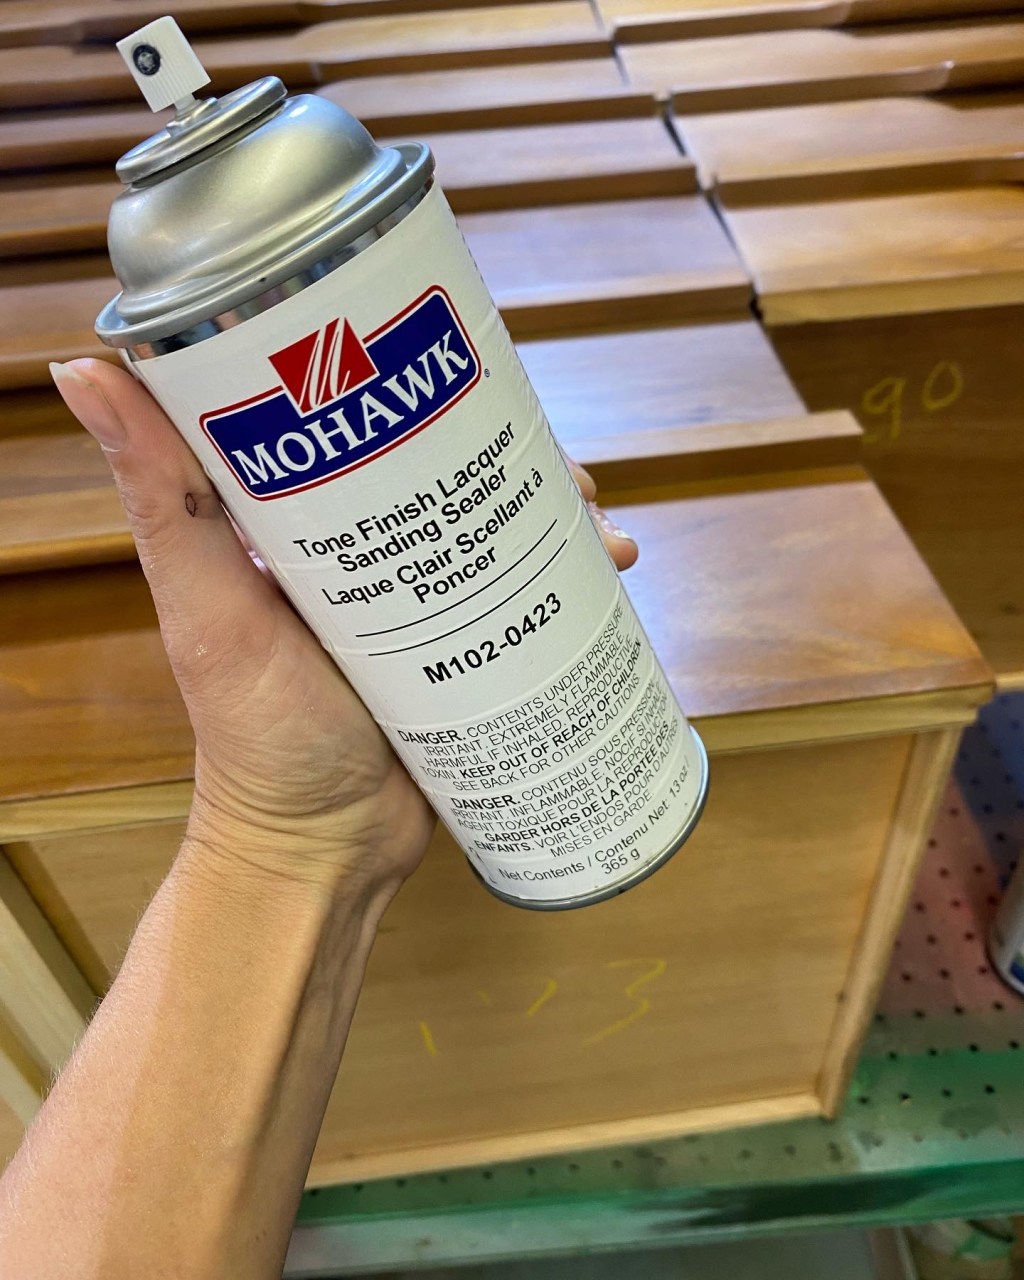
1. Identify the wood finish I guessed but pretty sure its a lacquer because most untouched furniture is. However you can test to see what type of finish it here. Check out this article to find out how.
2. Clean using denatured alcohol and water
3. Scuff with steel wool / mirlon pad / fine sanding sponge
4. Dust and stain to similar color tone this will conceal any scratches or areas of color loss.
5. Clear coat using clear lacquer in desired sheen.


TIPS: Keep in mind that if you don’t scuff there won’t be anywhere for the stain to go. Also you don’t need a lot a very little will go along way. You don’t want to see any stain dripping.
Take a look at these after:
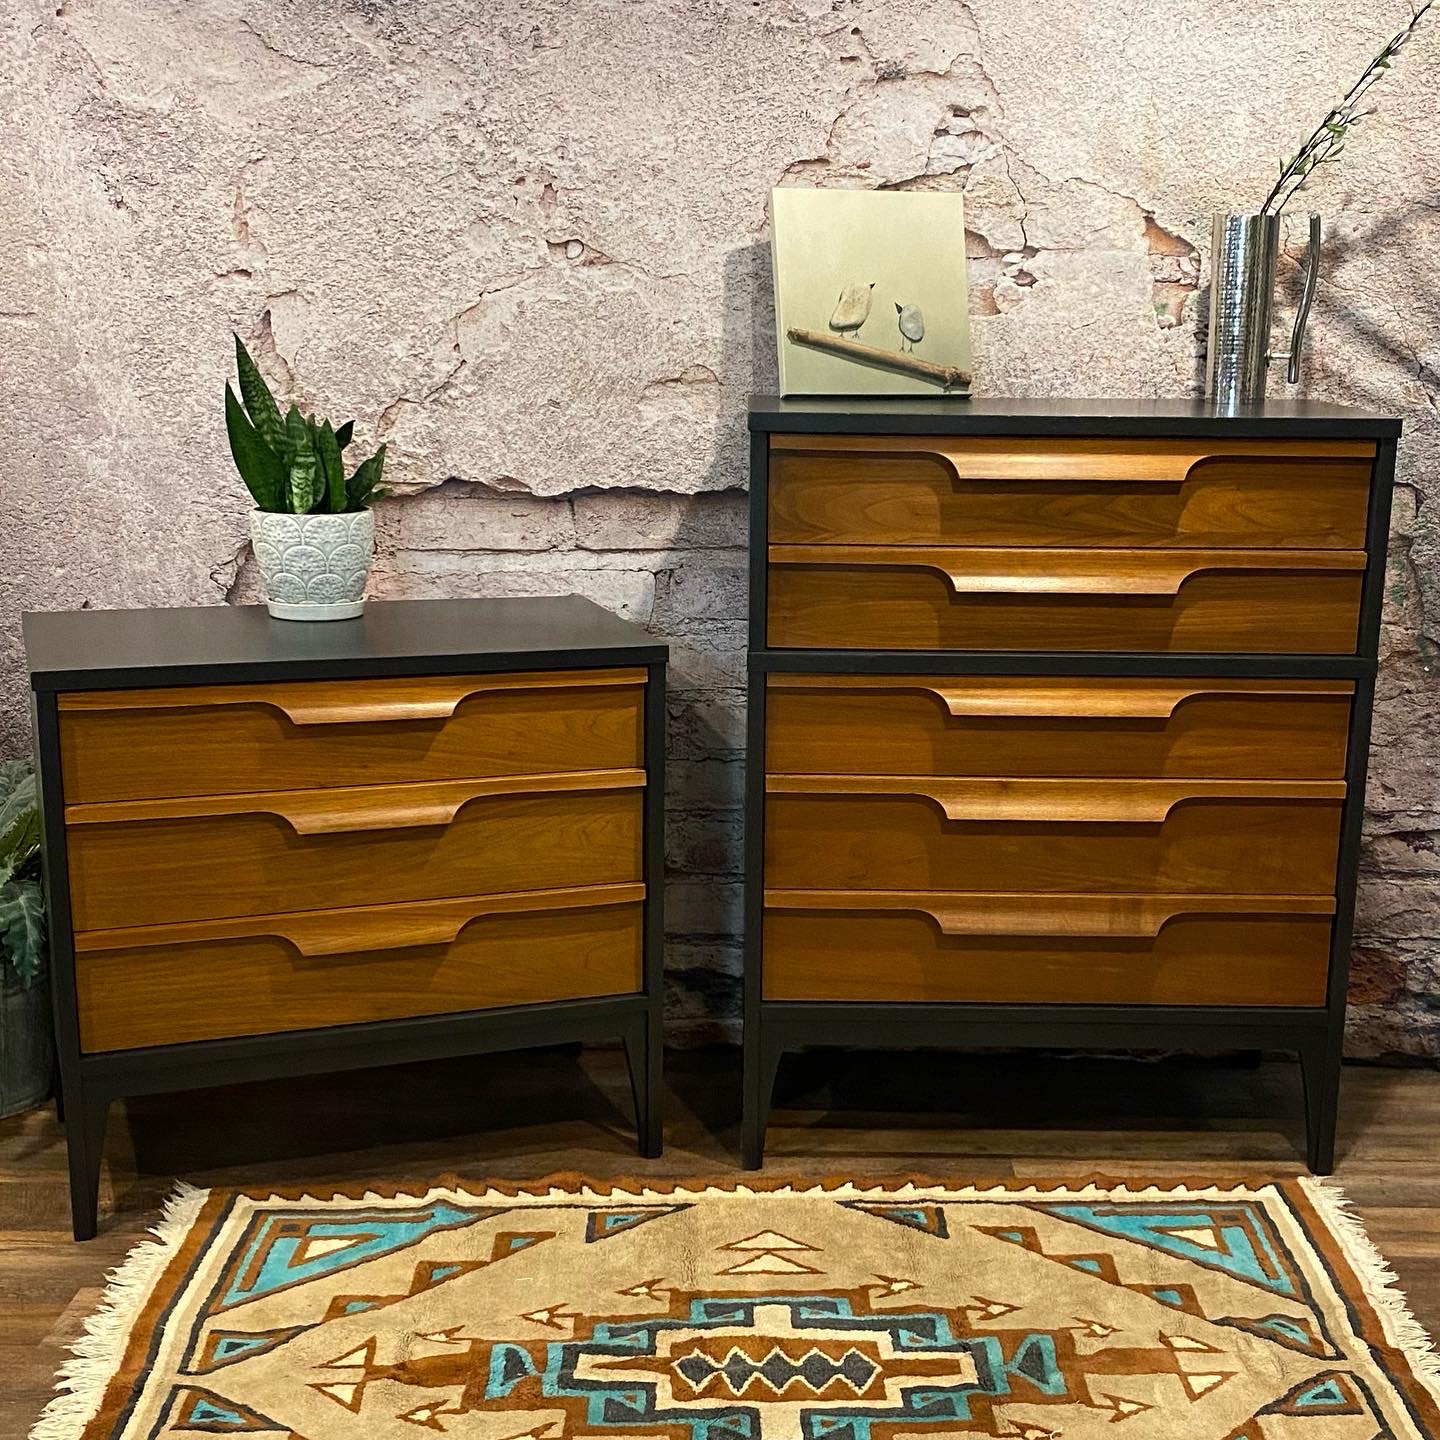
Thanks for reading and happy updating your lacquer finishes.
Tara Lou


Leave a Reply