
Lets talk about how to strip furniture and no not the kind at gentlemen’s clubs the actual dirty kind of stripping. Stripping is tough work and can get super messy. There are some options when it comes to stripping and we are going to talk about the best options for your projects.
Chemical Strip
Ok I know stripping furniture sounds daunting and a little intimidating but there are good strippers out there that are lower in VOCs and work great. Plus I (Tara Lou) have spent so many hours over a stripping table and I have some good tips for DIY stripping.
Tip 1: Use a good store bought stripper. I use citri-strip which I have found works very comparable to professional citrus base gel strippers. UPDATE: I found a better stripper which doesn’t leave as many spots after stripping that the Citrus-strip would leave. It is also no VOC and one of the safer products I’ve found. Check out SmartStrip here.
Tip 2: Be very generous on how much you put on and how long you leave on. Hey, it’s cool to cake this stuff on and leave on for a few hours. Sometimes I apply leave on for a hour reapply leave for 30 mins and then scrape off. Be sure where ever you are doing this it is well ventilated and read cautions thoroughly.
Tip 3: Do not, I repeat do not leave gobs of this stuff on your project too long without cleaning off. It can stain the wood and wood bleaching might be required. Also get a good paint scraper to remove this stuff. Be sure to check with your local disposal regulations too!

Meet Jessica at Kaleidoscope interiors back when she worked at my refinishing shop. She is stripping on an overflow stripping table!
Scraping
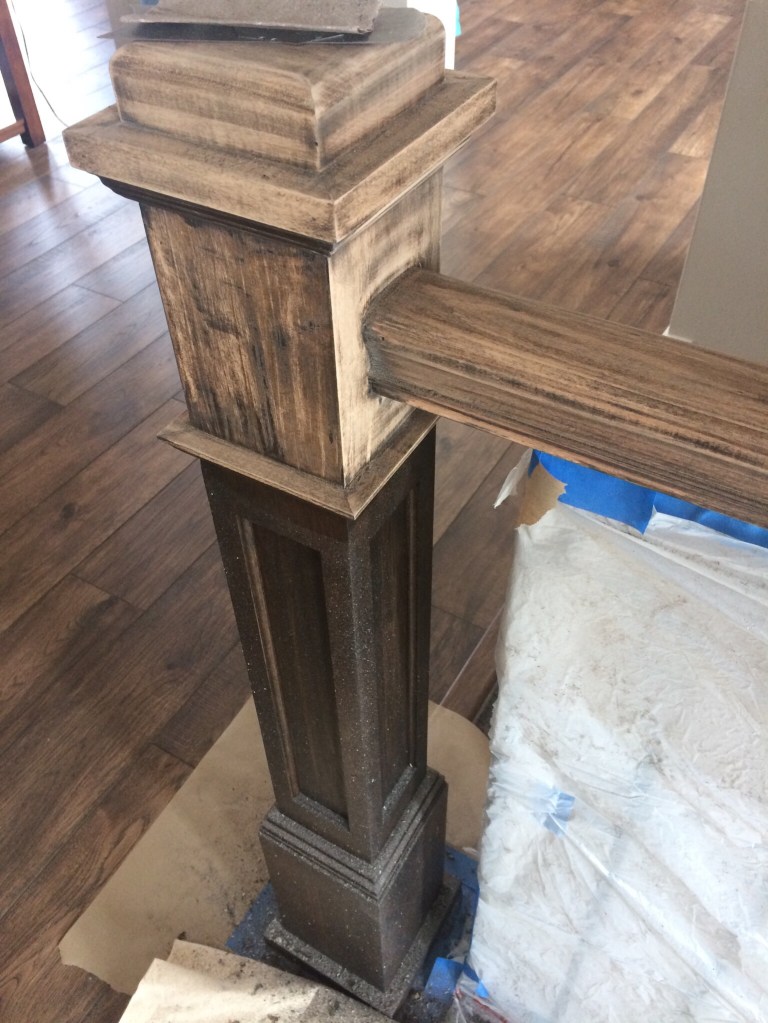
Scraping is a great option for flat surfaces and poor existing finishes. If you can scrape the finish off with your finger nail you can scrape with a scraper. You may have to come back with thinners or even sandpaper to even out and finish getting off the residue. I once scrapped and entire railing and newel post the brand new finish was poorly applied and was just ready to come right off. This was solid maple so it also did not soak much into the wood, sanding and lacquer thinner finished cleaning it right up.
You can get scrapers in all shapes and sizes you can get some standard ones like these. There are also more scraper styles like these.
Sanding
I put this option last because I do not believe this should be a first choice and sanding should be used for a last resort only. If you have solid wood, and flat surfaces you can sand. Depending on the type of finish and stain used it might still be hard to remove all of the old residue with just standing. Some finishes can soak right into the wood and chemical stripping is one of the only ways to remove all of it.
You also have to be very careful not to sand through veneer, or sand off profiles. I strongly urge against belt sanding unless you are very proficient in using sanders. It is very easy to create divots in wood when belt sanding. If you plan to paint over your project or darken the color of the wood sanding can sometimes be a good option. However if you sand unevenly applying anything over the top will only enhance the uneven sanding.
If you want to know more about sandpaper and the right types to use for your furniture projects I wrote all you need to know about it here.
I hope this helps with your next project and removing the old finish. Maybe this gave you the right push to try out chemical stripping. Send us some pictures of your stripping projects!
Thanks for reading and happy stripping (not the fun kind)
Tara Lou

* This blog contains affiliate links. Please Read our disclaimer page.


Leave a Reply